

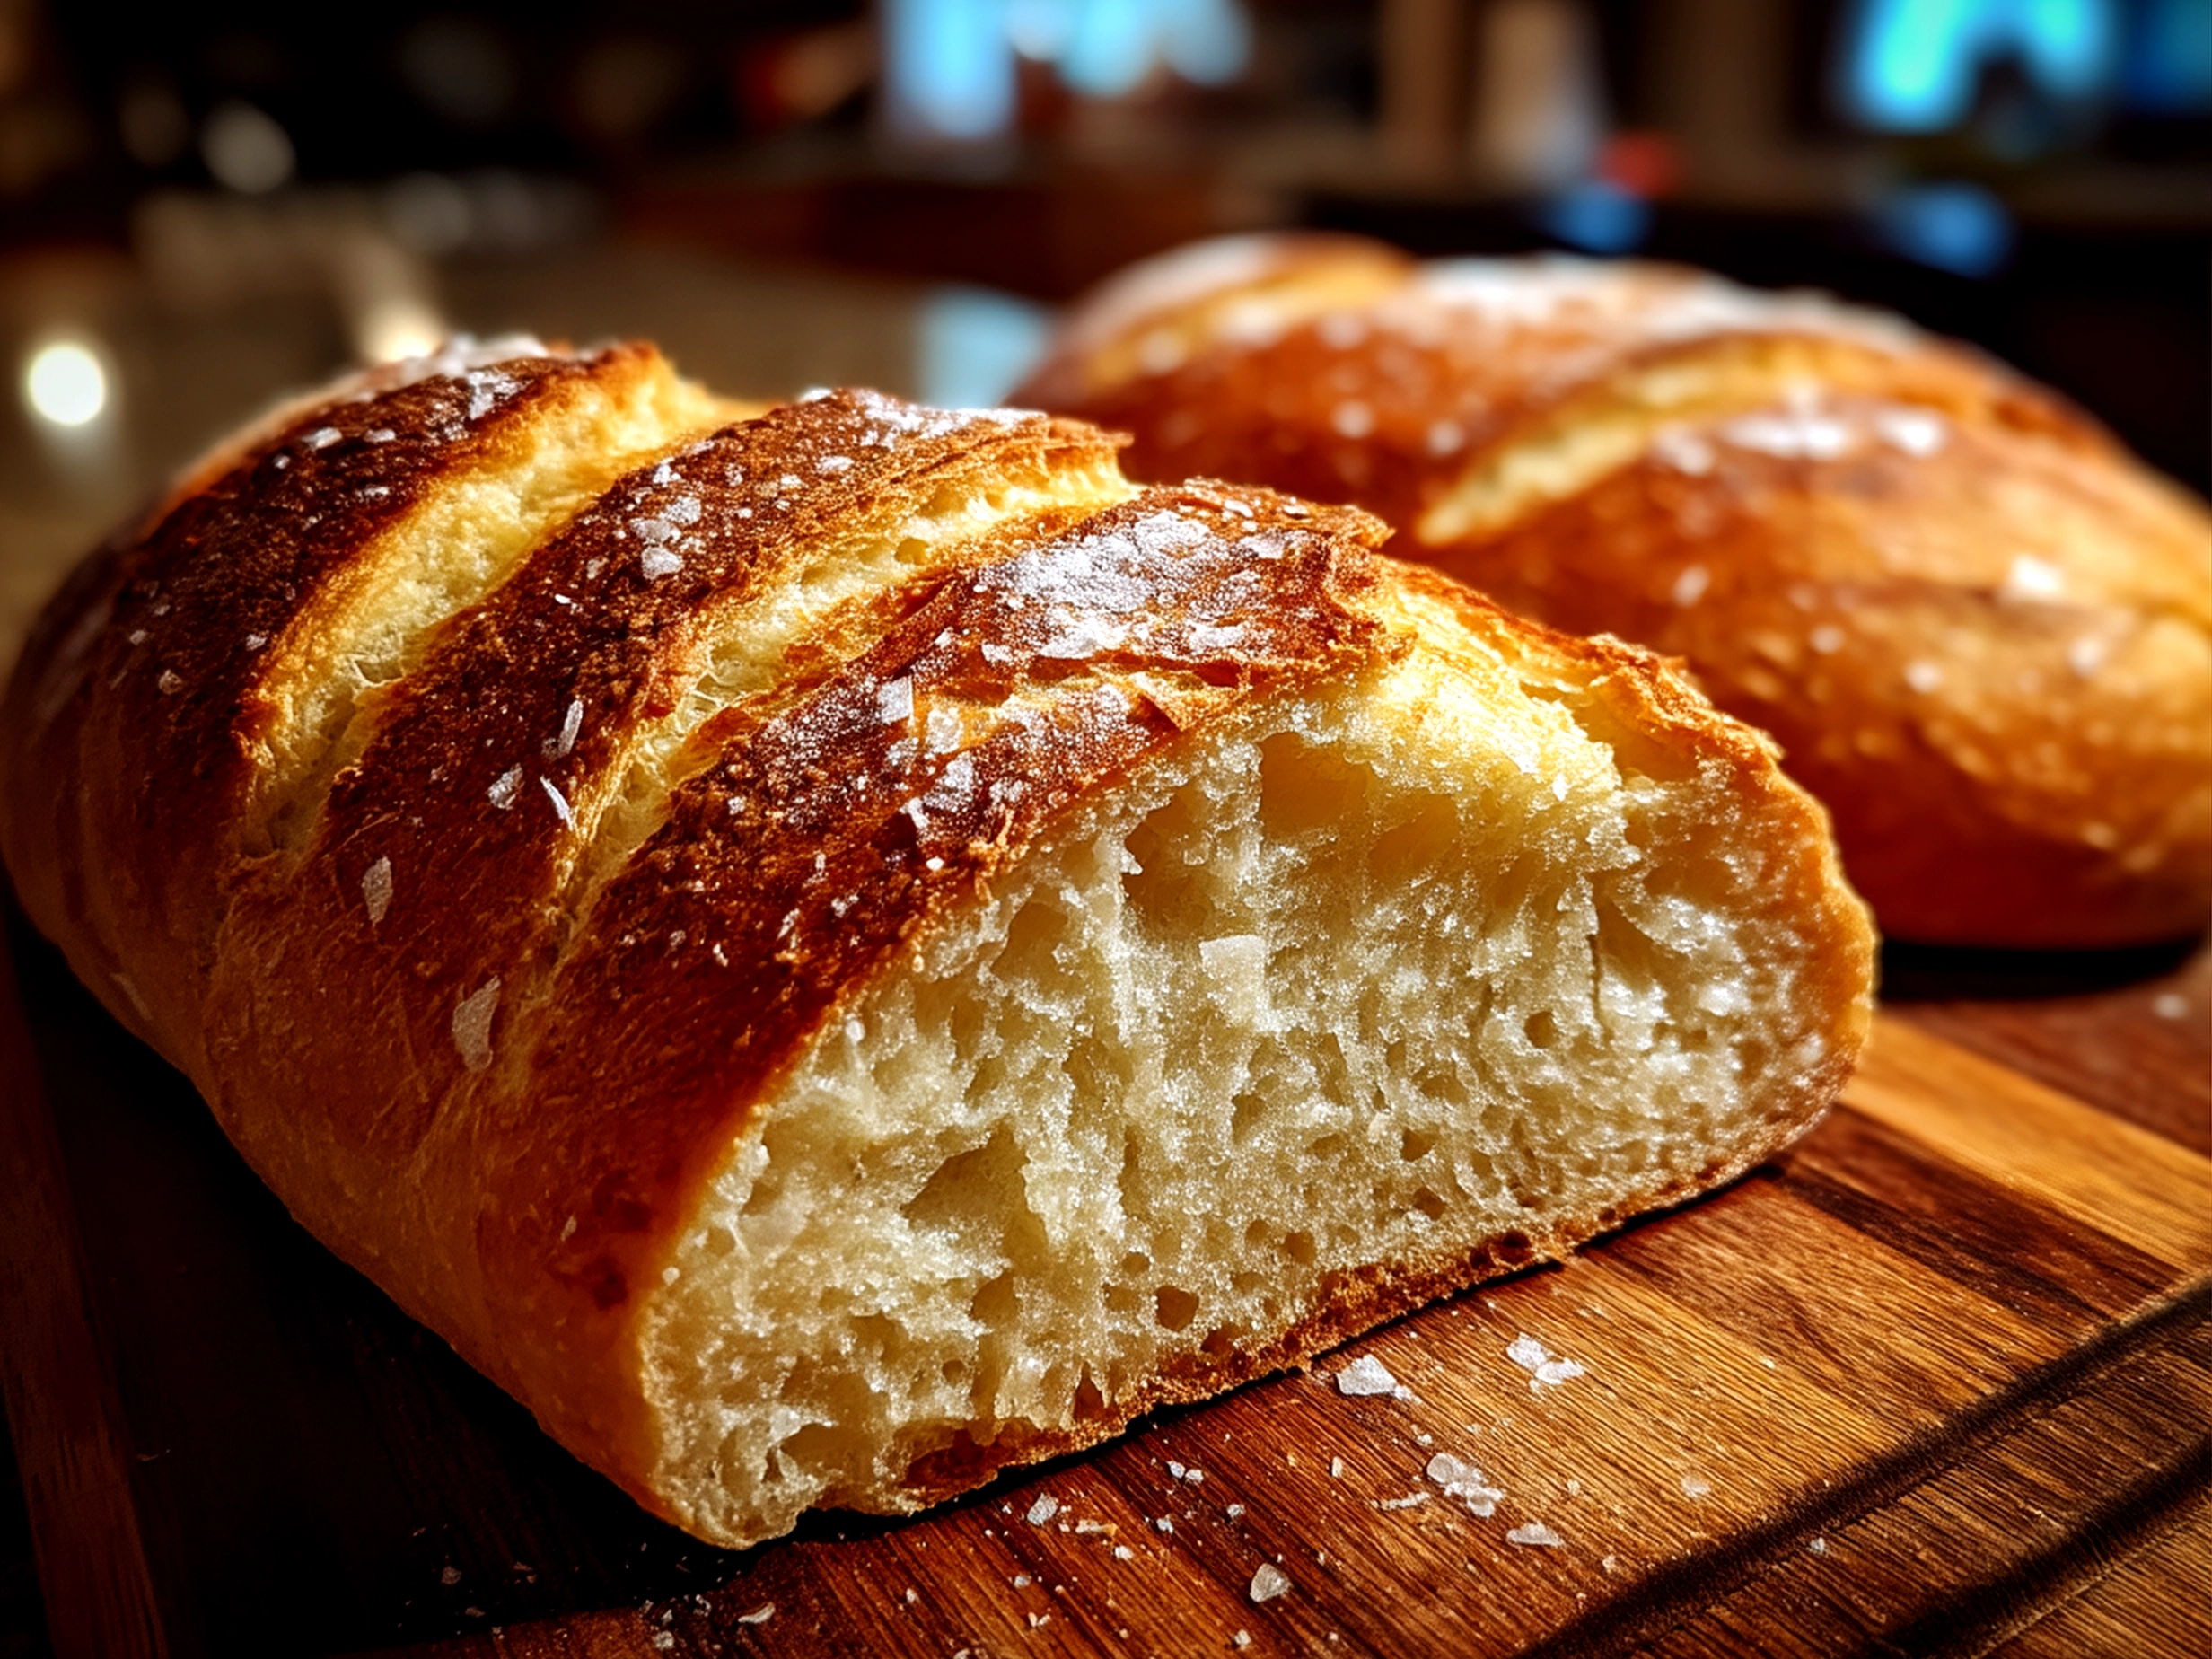
Oh my gosh, I had the biggest craving for Homemade Italian Bread the other day, and OMG, I finally put on my apron and made it happen! There’s something about that crispy Italian loaf with the golden crust and soft, pillowy inside that hits all the cozy, comforting spots. It’s this perfect mix of savory and a little hint of sweetness from the dough, and whenever you tear into that steam-filled bread fresh from the oven, it’s pure magic. Seriously, that first bite was like little fireworks going off in my mouth — the crunchy crust snapping beneath my teeth, followed by the tender crumb that just melts and tastes so fresh. I had to make this Homemade Italian Bread my weekend project, and the results? Next-level drool-worthy!
What makes this Homemade Italian Bread unforgettable is how it fills your kitchen with that irresistible aroma — you know, sort of warm, yeasty, and just begging everyone to gather around. I’ve made Italian bread before, but this one hits the classic notes perfectly — a crispy Italian loaf with that just-right chew and flavor that makes sandwiches, toast, or even just slapping some olive oil on it an absolute joy. If you’ve been wondering how to make Italian bread at home with a recipe that’s approachable but still hits all those traditional Italian baking vibes, you’re going to love this.
Honestly, if you love digging into a classic Italian bread that’s crispy on the outside but soft, airy, and totally satisfying inside, making this Homemade Italian Bread is so worth it. Plus, this recipe really channels the basics of traditional Italian baking, with a flavor and texture that rivals your favorite bakeries or those amazing spots you remember from your travels or from Instagram food inspo. I’m stoked for you guys to try my version of this classic Italian bread — it’s a total must-have if you live for cracking open fresh bread that tastes like love baked into every bite.
If you want to get even more into the classics, check out this classic Italian bread recipe — it’s a great companion if you want to know a few different takes on the basics. And for a super simple but still insanely good option, this 6-ingredient homemade Italian bread recipe is a no-fuss winner. Now, let’s dig into how you can get your own Homemade Italian Bread magic happening in your kitchen!
What You Need
To nail this Homemade Italian Bread, your ingredient lineup has to be spot on — trust me, picking the right basics makes all the difference. Here’s what you need, and I’ll share some foodie tips to make this Italian bread recipe shine.
- 4 cups bread flour (grab it fresh from the baking aisle; bread flour has more protein for that perfect chewy crumb)
- 1 ½ teaspoons salt (I go heavy on the salt for flavor balance — it’s essential!)
- 1 packet (2 ¼ teaspoons) active dry yeast (if you see instant yeast, you can swap, but active dry gives that classic rise)
- 1 ½ cups warm water (not hot! Warm water wakes up yeast without killing those little flavor-makers)
- 1 tablespoon olive oil (splurge on a fruity, high-quality olive oil—brings that authentic Italian vibe)
- 1 teaspoon sugar (helps feed the yeast and brings out a slight sweetness in this classic Italian bread)

If you’re feeling adventurous, try incorporating unbleached all-purpose flour for a lighter texture or even swapping a half-cup of bread flour for whole wheat for a heartier loaf. For the best Homemade Italian Bread, keep your yeast fresh and store it in a cool, dry place—you want it bubbly and alive.
Oh, and grab your olive oil from the international aisle; it makes a noticeable flavor upgrade. If you want, you could also toss in some dried herbs or garlic powder to add some subtle savory notes — but the traditional Italian baking style in this recipe shines best with just those basics for an honest, true flavor.
Need a quick shortcut? Use warm tap water to proof your yeast while you measure out the flour and salt — it saves time without hurting the goodness. Once you try this foundational mix for Homemade Italian Bread, you’ll feel like a little kitchen artisan in no time!
If you want a deeper dive into the rustic crustiness and flavor profiles, check out this rustic Italian crusty bread recipe — it’s a beautiful visual tutorial for that golden perfection.
How to Make It
Alright, fellow foodies, here’s where the magic really happens! Getting your Homemade Italian Bread from humble dough to beautiful golden loaf is a straight-up joy.
- Activate the yeast: Combine warm water and sugar in a bowl, then sprinkle in your yeast. Wait about 5-10 minutes until it’s bubbly and fragrant — this proofing step wakes up the yeast and sets the stage for that airy rise.
- Mix dry ingredients: In a big mixing bowl, whisk together your bread flour and salt. That salt’s going to bring tons of flavor to your Homemade Italian Bread, so don’t skip it.
- Combine everything: Pour the yeast mixture and olive oil into the flour mix. Stir well with a wooden spoon or your hands until you get a shaggy dough.
- Knead like a pro: Turn your dough onto a clean surface and knead for about 8-10 minutes. It starts sticky and rough but will turn smooth, elastic, and slightly tacky — this is your cue that the gluten is in full swing. Kneading is key to that perfect classic Italian bread texture.
- First rise: Place your dough in a lightly oiled bowl, cover it with a damp towel or plastic wrap. Let it rise until doubled — usually about 1 to 1 ½ hours depending on your room temp. The slow, steady rise is what builds those beautiful air pockets inside your bread.
- Shape the loaf: Gently punch down your dough, then shape it into a nice oval loaf for that classic Italian bread look. Place it on a parchment-lined baking sheet or a floured peel if you’re baking on a stone.
- Second rise: Cover and let your dough rise again for about 45 minutes. This second proof helps your Homemade Italian Bread develop a lighter crumb and gives that soft inside.
- Prep for baking: Preheat your oven to 450°F and place a pan of water in the bottom rack to create steam — this triggers that signature crispy Italian loaf crust.
- Score your dough: Use a sharp knife or lame to make a few slashes across the top. These let your bread expand properly and add a lovely rustic look.
- Bake to golden glory: Bake for 20-25 minutes or until the crust is deep golden brown and crackly. The smell? Absolutely irresistible — you’ll have your whole kitchen drooling and asking what’s baking.
- Cool it properly: Let your Homemade Italian Bread cool completely on a wire rack before slicing — this finishes the baking process and keeps the crumb from getting gummy.
Here’s a pro tip: if your crust isn’t quite crispy enough, give the loaf about 5 minutes extra in the oven without steam to get that crackly finish. My own kitchen experiments usually end with a 23-minute bake, just to nail that flawless balance.
To see this step-by-step with visuals, check out the classic Italian bread recipe. Watching the shaping and scoring makes a huge difference when you’re learning how to make Italian bread from scratch. Trust me, your kitchen will smell incredible while this Homemade Italian Bread cooks!
Serving This Up
Now, let’s talk about the absolute joy of biting into a slice of this Homemade Italian Bread. It’s so versatile, I swear it pairs perfectly with nearly everything savory or sweet.
My favorite way? Warm slices slathered with good olive oil and a sprinkle of sea salt—simple, but every bite sings. I also love making garlic bread with it for dinner parties; a drizzle of garlic butter and fresh parsley turns it into an instant crowd-pleaser. Or for that unbeatable combo, toast slices for sandwiches loaded with fresh mozzarella, vine-ripened tomatoes, and basil. This Homemade Italian Bread is your blank canvas for endless delicious creations.
If you’re hosting a get-together, serve up a big basket of this crispy Italian loaf with an olive oil dip or alongside Italian soups like hearty minestrone or classic tomato basil. It’s the kind of bread that disappears fast—seriously, be prepared to bake extra loaves.
For leftovers, don’t toss that bread! It toasts up amazingly for bruschetta — just top with diced tomatoes, basil, and a splash of balsamic glaze for an easy snack. Bonus: Homemade Italian Bread can also shine as a base for breakfast strata or homemade bread pudding.
Want to keep your bread fresh longer? Wrap it in a linen towel, then place it in a bread box or paper bag to keep the crust crispy and the crumb soft. And when you want to warm it up? A quick 5-minute zap in the oven at 350°F refreshes it perfectly without drying it out.
Honestly, if you love this Homemade Italian Bread, you need to try pairing it with my cheddar jalapeno cornbread muffins for a Southern twist, or switch up your breakfast game with cinnamon swirl banana bread. Those flavors play so well with the rustic charm of Italian bread.
Your Questions Answered
Okay, I know you’ve got questions because every foodie wonders how to get Homemade Italian Bread just right. Here are the real-talk answers!
1. How do I make this Homemade Italian Bread extra flavorful?
Love this question! I suggest letting your dough rise a bit longer for a deeper flavor and trying high-quality olive oil that adds richness. Tossing in a pinch of garlic powder or herbs is not traditional but delicious. Also, swapping half the water for milk brings a slight sweetness.
2. Can I meal prep this Homemade Italian Bread?
Totally! Bake the loaf, then slice and freeze. Toast slices straight from the freezer for a fresh-baked vibe any day. Just wrap tightly with plastic then foil.
3. What’s the best way to reheat Homemade Italian Bread without losing quality?
Pop it in a 350°F oven wrapped loosely with foil for 10 minutes. This revives that crispy crust and soft inside better than a microwave ever could.
4. Can I use a bread machine to make Homemade Italian Bread?
Yes! Just add ingredients in order, use the dough setting, then shape and bake in the oven for that crispy Italian loaf finish.
5. How do I get that perfect crispy Italian loaf crust at home?
Steam in the oven during baking is a must. Place a pan of water on the bottom rack or spray water inside the oven right before baking to create moisture that crisps the crust beautifully.
6. What’s the difference between Homemade Italian Bread and other breads?
Classic Italian bread stands out with its chewy but airy crumb, crispy thin crust, and subtle balance of salt and olive oil flavors — it’s less dense than some European breads but bolder than plain sandwich bread.
7. Any tips for shaping the loaf?
Don’t overwork the dough when you shape it. Gentle folding and rolling keep breathability for those big air pockets that make the inside light and fluffy.
If you want some tasty snack ideas to pair with your Homemade Italian Bread, check out these gingerbread protein snacks for a sweet counterpoint to your savory bread adventures. Food is life, friends!
Final Bites
Look, this Homemade Italian Bread deserves a spot in your bread rotation for a bunch of reasons — its flavor hit, ease of making, and that crispy Italian loaf texture that’s straight-up addicting.
My Foodie Tips for rocking your Homemade Italian Bread every time:
1. Always proof your yeast in warm water with sugar for a bubbly start.
2. Don’t skip the steam during baking—it’s the secret to that show-stopping crust.
3. Let your bread cool before slicing to keep that soft, chewy crumb intact.
If you want to mix things up, try these variations: add rosemary for a fragrant twist, swap half the flour for whole wheat for a heartier bite, or toss in roasted garlic cloves inside the dough for a flavor burst. The rosemary version gets rave reviews from guests, and the garlic loaf is a total game winner.
I encourage you to make this yours. Tweak the salt, oil, or rise time until it sings for you. Foodies, you’re going to love having this homemade Italian bread in your kitchen—it’s like having a little piece of Italy baked fresh anytime you want.
I can’t wait for y’all to bake this up and fill your homes with those beautiful, savory, toasty scents. Dig in, share it, and enjoy every crisp, soft bite of your Homemade Italian Bread!
If you want more bread inspiration, check out the classic Italian bread recipe by Girl Versus Dough or the quicker 6-ingredient version at Hostess at Heart. Plus, for rustic vibes, Ciao Florentina’s video is fantastic.
Happy baking, fellow bread lovers!
Homemade Italian Bread
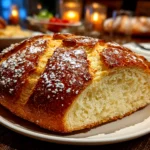
This Homemade Italian Bread features a crusty golden exterior and a soft, airy interior, perfect for sandwiches or alongside your favorite Italian dishes.
- Prep Time: 15 minutes
- Cook Time: 30 minutes
- Total Time: 1 hour 45 minutes
- Yield: 1 loaf (8 servings)
- Category: Dinner
- Method: Baked
- Cuisine: Italian
Ingredients
- 4 cups all-purpose flour
- 1 tablespoon sugar
- 2 teaspoons salt
- 1 tablespoon active dry yeast
- 1 1/2 cups warm water (110°F)
- 2 tablespoons olive oil
- Extra flour for dusting
Instructions
- In a small bowl, dissolve sugar and yeast in warm water. Let it sit for 5-10 minutes until frothy.
- In a large mixing bowl, combine flour and salt.
- Make a well in the center and add the yeast mixture and olive oil.
- Mix until a dough forms, then knead on a floured surface for about 8-10 minutes until smooth and elastic.
- Place the dough in an oiled bowl, cover with a towel, and let rise in a warm place for 1 to 1 1/2 hours or until doubled in size.
- Punch down the dough and shape it into a loaf. Place it on a baking sheet dusted with flour.
- Cover and let rise for another 30-45 minutes.
- Preheat the oven to 425°F (220°C). Make a few diagonal slashes on the loaf with a sharp knife.
- Bake for 25-30 minutes until the bread is golden brown and sounds hollow when tapped.
- Cool on a wire rack before slicing.
Notes
For an extra flavorful crust, brush the loaf with olive oil before baking or sprinkle with sesame seeds.